The D&B model railroad uses scenery construction techniques that
are explained in the book "How To Build Realistic Model Railroad Scenery" by Dave Frary.
The book includes many other ideas and
techniques for building scenery. Products and techniques from Woodland Scenics are also
used.
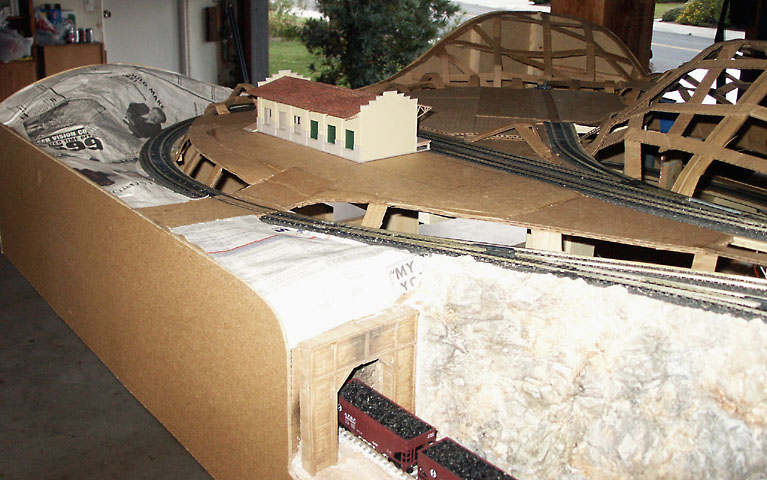
The scenery foundation or "shell" is constructed from cardboard strips covered with plaster
coated paper towels. This technique is inexpensive, easy to do and results in a strong light
weight scenery base.
The brand name Custom Building Products markets a number of plaster mixes available at most building supply
stores. The mix called "Patching Plaster" was used for coating the paper towels as it has a
longer working time; about 30 minutes. The mix called "Plaster of Paris" was used for the rock
molds; about 5 minutes working time.
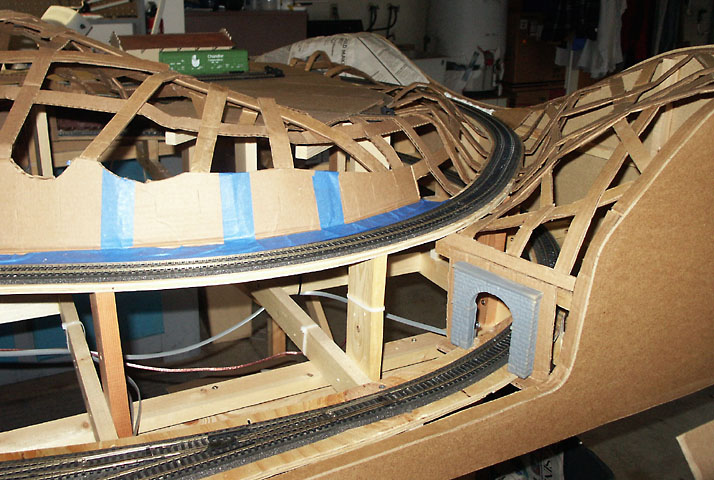
One inch wide cardboard strips were glued to the track boards and layout edges to form a support
grid of four to six inch squares. Clothespins were used to hold joints until the glue dried. A
layer of newspaper was then added on top of the cardboard grid. A spray bottle of water was used
to wet the newspaper to make it conform to the cardboard grid. The newspaper layer served two
purposes. First, it helped to better visualize the scenery contours and make any last minute
adjustments. Second, it helped keep the wet plaster on the layout and off the floor.
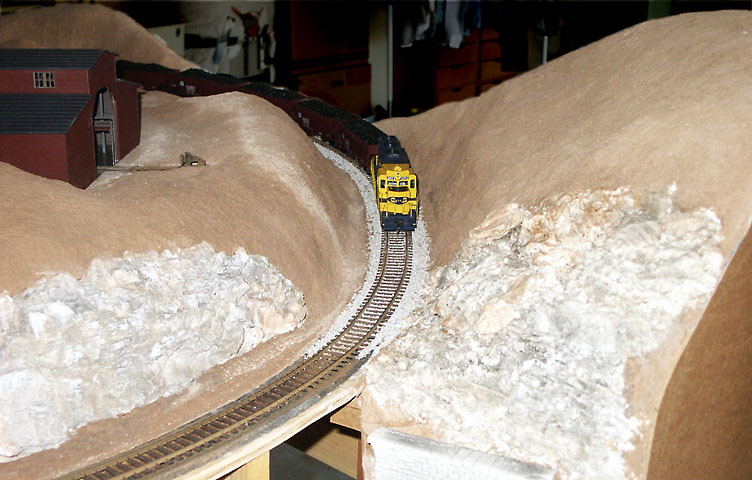
The Patching Plaster was mixed with water to a soupy consistency and tinted with burnt umber. A water based tinting color product from "Proline Universal Colorants" was used. Paper towels dipped into this plaster mix were then applied over the newspaper covered cardboard grid. In some places, it was necessary to use wadded newspaper to further support the cardboard grid from underneath until the plaster hardened. The next day a second layer of plaster coated paper towels was added for additional strength.
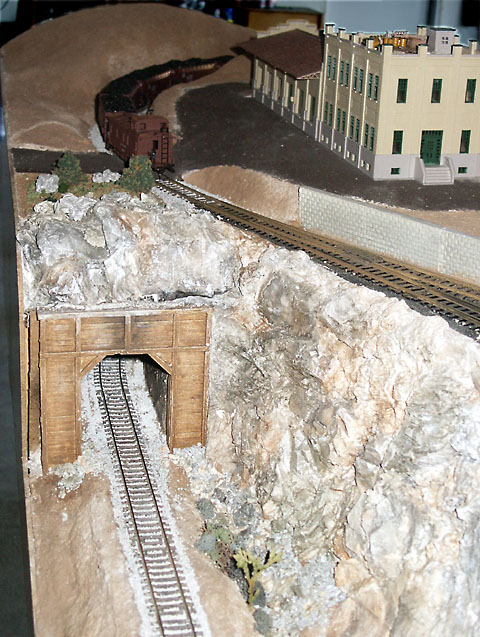
For the final third layer of plaster, no paper towels were used. The patching plaster was mixed to a whipped cream consistency with some sand mixed in for additional texture. This plaster coat was applied with a cheap brush using a stippling action. Burnt umber tinting color was added in stages starting with lighter brown for higher peaks and areas in simulated full sun. More tinting color was gradually added as lower levels and valleys were coated; implying more soil dampness in these areas. It also added some color variation to the ground. The final surface, when dry, is ready for detailing. No additional painting required.
An important point when applying additional final coats of colored patching
plaster over completely dry plaster. Be sure to thoroughly pre-wet the area being coated first.
Otherwise, as seen to the right of the track bumper, the dry surface will draw the water and color
out of the new wet plaster; especially at its edges, and result in an abrupt color change. In some
situations this may be ok. In others, additional touch up painting will be required.
The track was paint with Badger Modelflex Rail Brown (16-175) paint. Since Atlas code 100 track has
black ties, the paint was diluted with
2 to 3 parts water and then brushed on over the entire track. This allowed some of the black tie
to show through to better represent a creosote tie. The tops of the rails were wiped clean before
the paint dried. The track was ballasted with Woodland Scenics 'Gray Blend Fine Ballast' and held
in place with concentrated matte medium diluted 1 to 4 with water.